
Sunday, April 14, 2013
April Card Swap.....


Sunday, March 31, 2013
Beach Album

 Awhile back I took a class at Scrappn' & Savvy from Terri Burnette. This is the album class where we made this suitcase that opens into an album. I think I posted the suitcase but not the insides. I have been working on getting it completed for many months now. Seems I just couldn't get back into finishing it once I came home from the clas
 I have taken this project to many day crops and retreats but just couldn't get it finished. Well, yesterday we had our Scraptabulous Day Crop and it was the number #1 priority on my to do list for the day. I finally finished the project. It did take several hours to complete but it is done!
The suitcase is made from two 5 x 7 art canvases which we painted with distress inks to make look old and worn. We build a shelf on the inside to hold some beach memorabilia, shells, sea glass and what nots.

The paper line we used is Authentique called "The Open Sea." The mini album uses all the embellishments that came with the paper line plus a few sheets of matching card stock. This little album holds a lot of pictures. I also embellished the front of the suitcase with some of the post cards from the collection.
A trip to beach is in order to fill in the pages. Hope you enjoy this cute album.....
Thursday, March 14, 2013
March Card Swap

Tea for Two Album pages.......
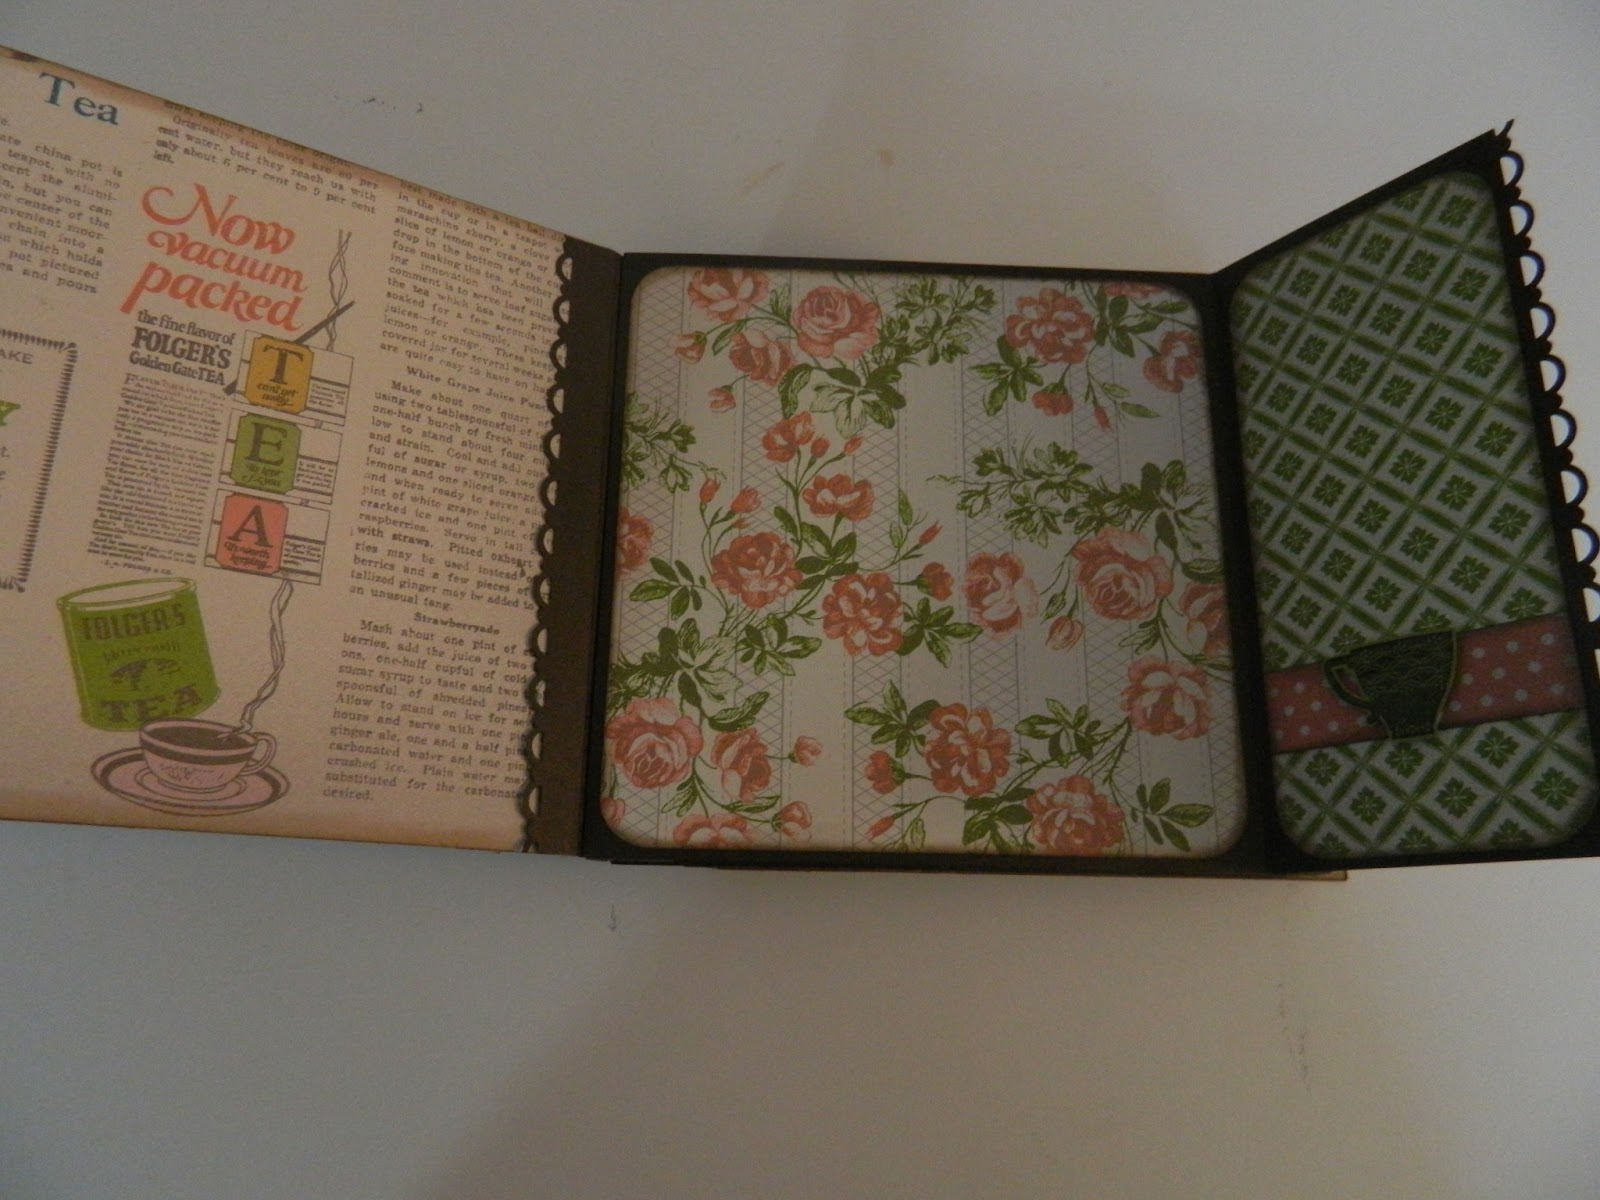

These are the pages I've done in my sample album, Tea for Two
I used different sections of the paper line to pop up and give dimension.

When adhering the flower trim, I used glue dots on the sides so photo could slide under.
Be creative & fill the album with your memories.

I apologize for the bad lighting. :-(


Wednesday, March 6, 2013
Album class....

I will be holding an album class next week to make this mini album designed by Terri Burnette. I love this album and have made it several times using different paper lines. This time I am making it using all Stampin'Up supplies. I will be using the Tea for Two designer series paper. It has minimal embellishment as I layered the paper patterns. I did use the Flower Trim (new in the Spring Mini), ribbon and the closure will have a Tea Time Trinket charm.
The album has only six pages but Terri made a built in WOW factor on each page, its the reason I just love it so much. I will post more photos after my classes.
Card holder with cards......

I came upon this very cute card holder with three cards while surfing the net this morning. It was designed and made by Kimberly Morris using the Feeling Sentimental stamp set in the Sale-a-Brations catalog.

Sale-a-Bration goes through March 22nd and with every $50.00 Stampin'Up order you get a free stamp set such as this one used on this project.

This was such a fun project and went together quickly and easily. I stamped the envelopes also to add just a bit more. I hope you enjoy this card project by Kimberly and get in on the Sale-a-Bration before it is gone for another year.
Tuesday, February 19, 2013
Inspired by Pinterest

I attended another class over at Scrappn'Savvy in Spring last evening with a few friends. The class was a photo box Inspired by Pinterest and given by Terri Burnett. The box can be used to display your photographs or just hold them until you are ready to use them on a scrapbook page.
We used paper by Authentique. The box was primed and sanded, the panels were cut and inked then applied to the sides of the box with liquid glue. The legs were added last.
There are four dividers in the box to separate the photographs. Both sides of divider is covered with paper and inked. Flower embellishments added to front to add interest.

The top of the box wasn't wasted as we made a small shadow box decor item. The back is lined with patterned paper and decorated with a banner, umbrella and flower embellishments. A punched bird is added to the top and a small removable card held in place by the flowers. A great piece to announce the coming of Spring.
Terri's projects are always so fun, what an awesome instructor.
Subscribe to:
Posts (Atom)

