Pages

Wednesday, March 21, 2012

Paper Easter basket


We have been watching our two grandsons this week and what fun we are having.   They are such a joy and both very sweet and well behaved.  Jeffrey, our red head has a slight temper though and is just beginning to use it to get his own way.  James hangs out with Gramma-ma and helps in the craft room.  He is really into the die cuts and punches right now.  Everything I make is James' favorite.

Tom takes James to pre-K around noon and I put Jeffrey down for his nap after lunch.  I then have a little time to get what little work done around the house that absolutely needs tending to and to spend some time in my craft room.  I do spend the majority of time in my craft room.

Today while Jeffrey is napping, I made this cute paper Easter basket.  It is made using the Fancy Favor Die (SU) with a handle made from the Lace Ribbon Punch (SU).  The grass on the basket is the pleated ribbon in the SU mini right now.   The flowers  around the basket are from the BoHo Blossoms punch (SU) .   I used rhinestones for the center of the flowers to add a little bling.
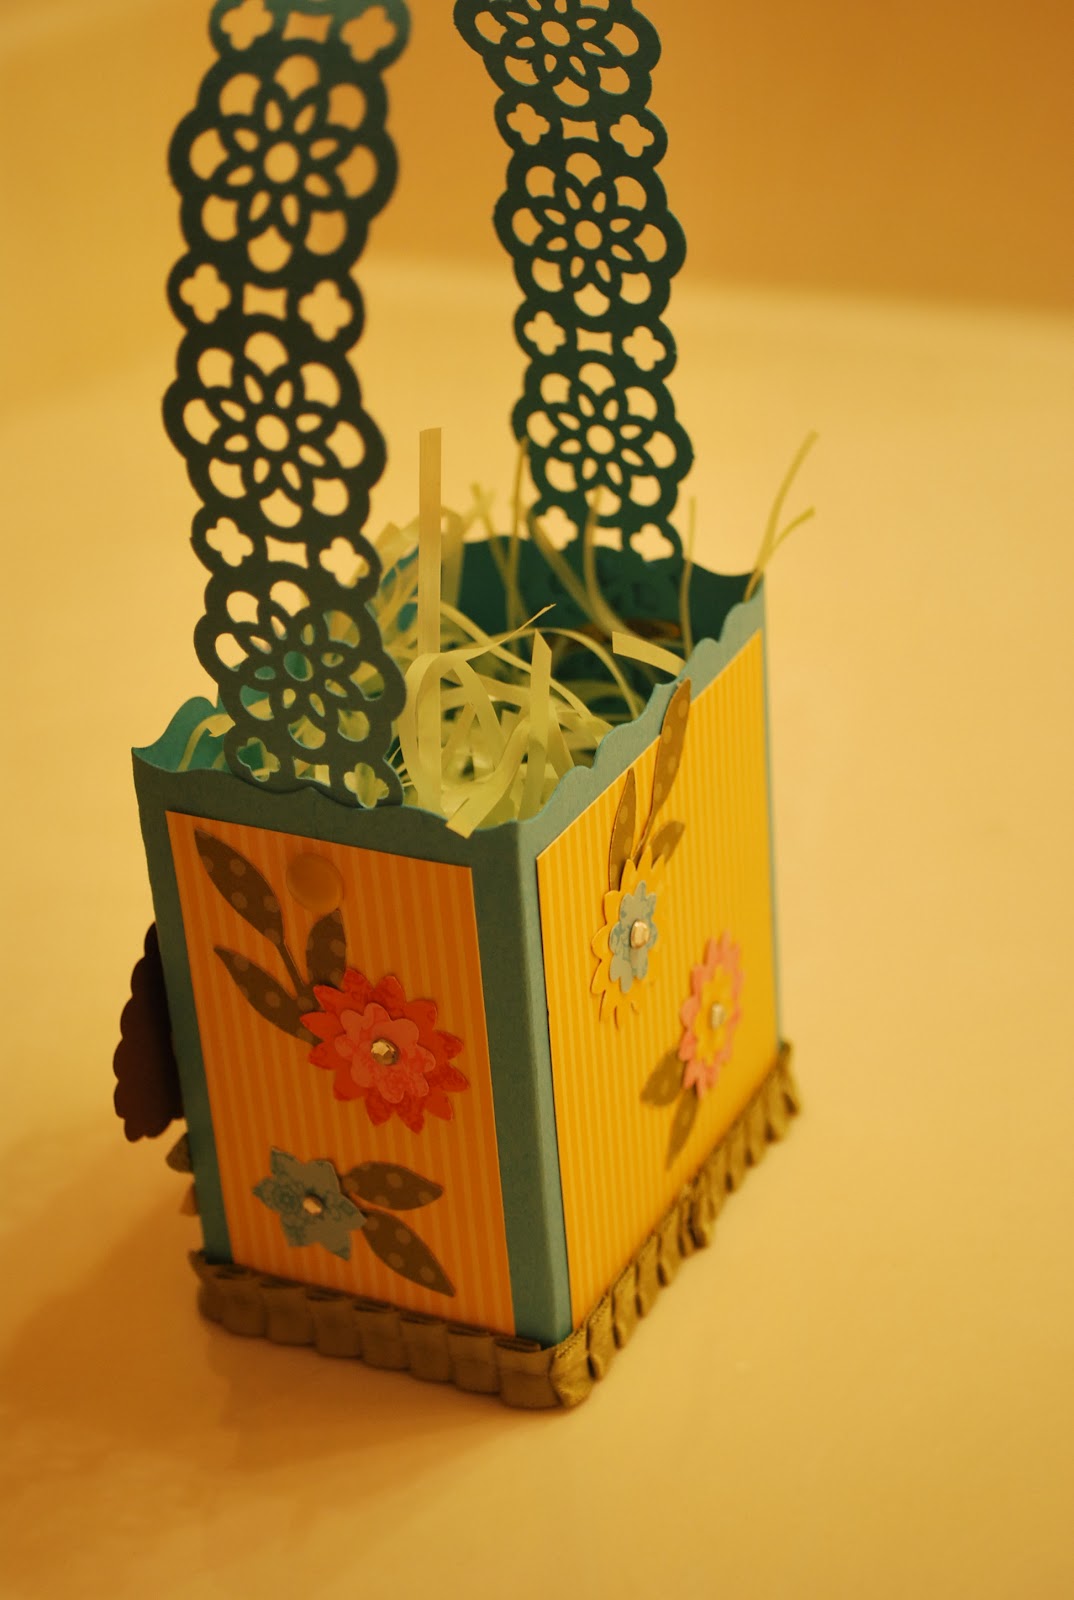

The little bunny on the front of the basket is made from punches of various sizes.  I used Soft Suede ink to add dimensions to the punched pieces before putting  the bunny together.   Of course,
I used all Stampin'Up products on my basket.  The project itself is designed by Chris Galbraith for Craft Project Central.  I really enjoyed making this basket, think I will make one for each of my grandchildren for Easter.  It will be James' favorite I just know it!

Head on over to Craft Project Central and sign up for March 2012 and you too can make this cute little basket.  Signing up for a month will get you ten (10) projects plus a bonus.  All for just $10.00 a month.  Quite a deal!  Stop by my SU site if you need to purchase the supplies to make the basket.   Enjoy my basket!

Saturday, March 10, 2012

Card box project...


I fell in love with this card box when I found it on Life on the Beach with Kathryn.   I knew immediately that I must make it for all the cards from my card swaps.  It was a fun weekend project.

The box is made from chipboard and pattern paper.  It is quite large and will hold enough cards for a full year.  The box has twelve monthly dividers with a calendar on the front of the dividers to remember all those birthdays.   It has sub dividers for all those other occasions also.     No more searching through disorganized boxes to find just the right card for just the right occasion.  I can open the card box, go to the right month or sub divider and find a card within minutes.  How easy is that?
  • I can also replenish the cards at my leisure to keep the box filled.  This new organizational system will have me sending more cards than ever before.  I'm lovin' it!

Scrap book pages...


Hi again,
I wanted to share with you some of the scrapbook pages I've made in the classes I've been taking.  The photo on the left is the interactive page for January.  The front folds up into two sections, one side a pop up.  This was such a fun page that will hold many photos. 


This next page is the interactive page for March.  The photo mat on the front opens to reveal eight extra spaces.  It is held closed by a clear acrylic flower with paper flower on top.  This page will hold a total of fifteen photos or journal boxes including the five by seven on the front of the page. 


The page on the right is the regular page for April.  Next month we will do the interactive page for April plus the regular page for May.  The punch used on these pages is the Flower Burst by EK Success.  Enjoy!

March card swap....


Hello Ladies,
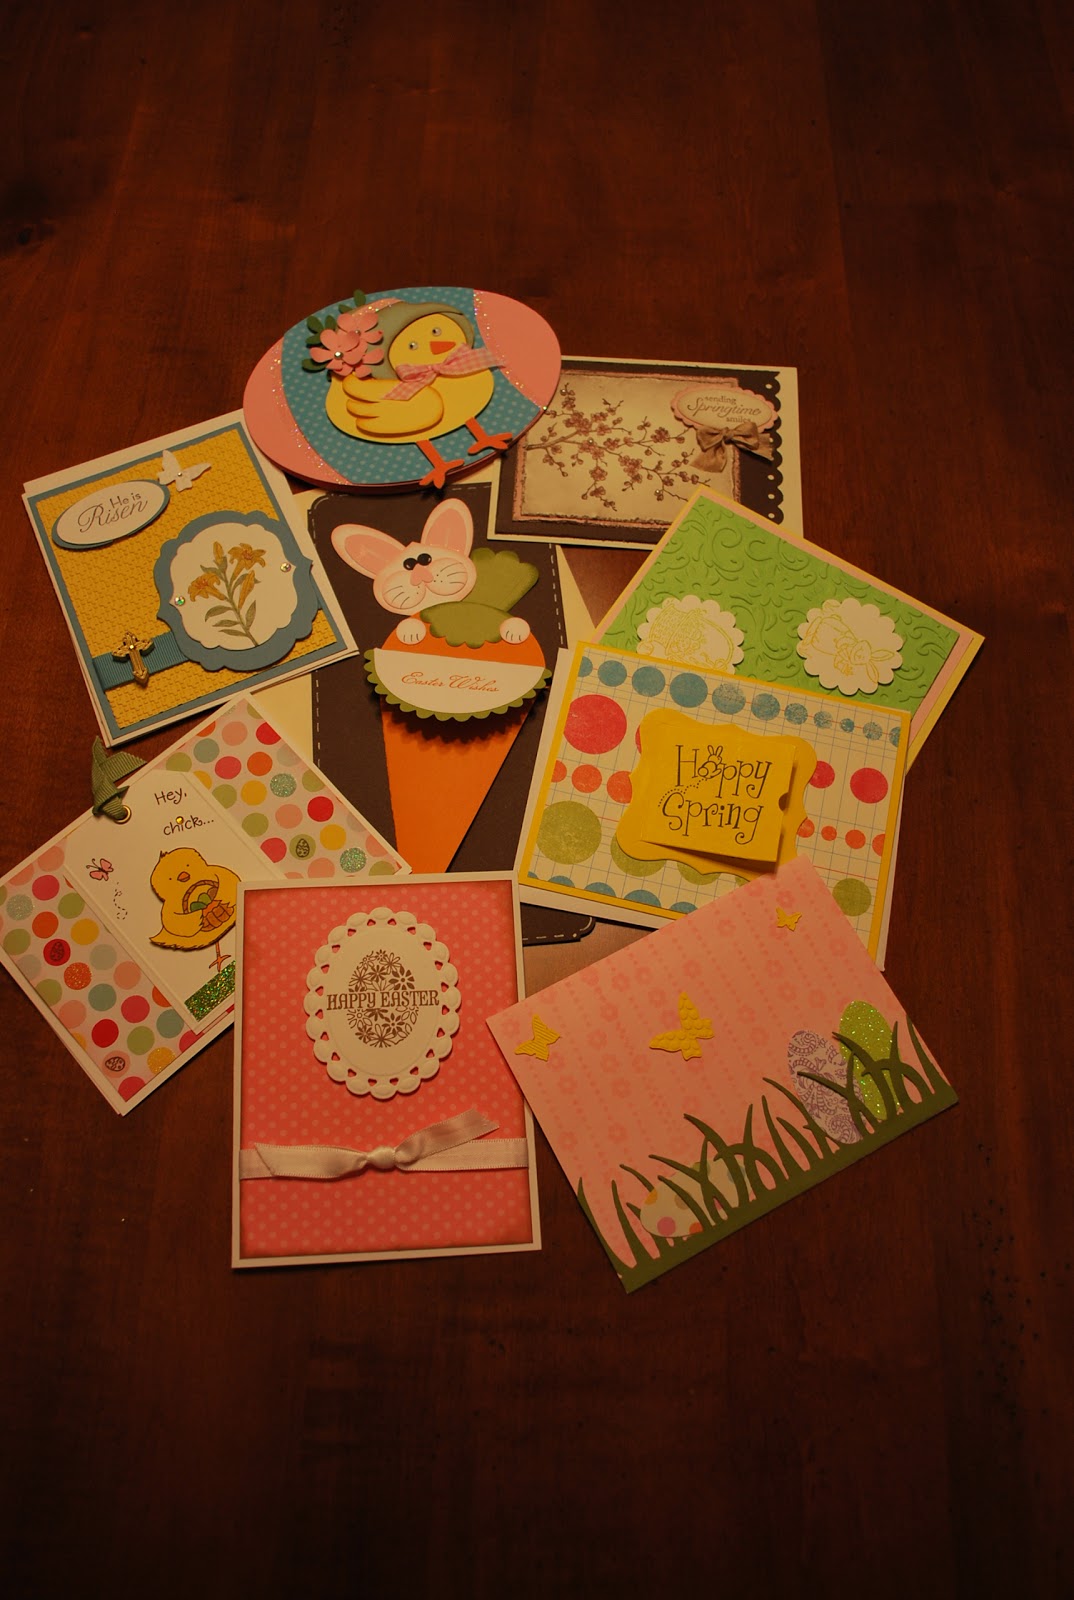
Casey by Design meetup group had it's March card swap this past week at a local restaurant.  We had nine ladies making Easter cards to swap.  The cards were all nicely done.  The cards were clean, elegant, whimsical, and colorful.  I think all the ladies did an outstanding job with their cards.

We had a wonderful evening chatting, eating and just catching up.  We all look forward to getting together every month and exchanging ideas.  A theme for next months card swap hasn't been decided yet but will be posted in the near future.   If you are interested in joining us go to Casey by Design meetup group and sign up.  We would love to have you join us. 

Excuse the poor photo, wanted to get these pictures posted tonight and didn't use the flash.  Enjoy!

Saturday, March 3, 2012

March Card class.....


The date is set for the March card class.  We will be making three Easter cards in a little holder on March 11th from 2-4.

The cards are made using the Everybunny stamp set by Stampin'Up and the designer series paper, Everyday Enchantment from the Sale-a-bration catalog.  The cards are clean and simple and were fun to make.   They tuck neatly into the 6X6 sheet protector that I cased from Dawn Griffith. Enjoy!

Tuesday, February 28, 2012

Shaped card challenge.....


Today I decided to enter into a card challenge over on Welch Creations.  The card had to be a shaped card so how perfect to do one shaped like an egg.  I am also doing a card swap next week and the card theme is Easter.  This card is perfect for both!  This cute card was cut out on the Cricut using a design from Svgcuts.com.  They have the neatest stuff and the prices are really really good.  This card was so much fun to make and I'm hoping the ladies in the card swap think so too.  I added just a little glitter to the card to make it shine, of course, I am covered in glitter as is my desk.  I just haven't figured out a way to use glitter without getting it everywhere.  There has to be a secret to this, if anyone knows, please share.  Hope you all enjoy my Easter shaped card.

Tuesday, February 21, 2012

Retreat....


 The retreat at Memory Lane in Tyler last weekend was absolutely wonderful.  The weather was cold and rainy so it was perfect to stay inside and play with paper.  I must admit, I didn't accomplished very much over the weekend but did catch up with old friends and made a few new ones as well.  The house at Memory Lane is so full of history and filled with beautiful antiques.  The stain glass windows ( and there were many) were beautiful.  The streets outside the house were paved in red brick and the magnolias in the front yard were enormous.   The street was very quiet and well groomed.  It was like stepping back in time somewhat.  The city of Tyler itself is a place I would like to visit again.  I'm sure there are a lot of points of interest to see in Tyler.

Subscribe via email

Enter your email address:

Delivered by FeedBurner

Blog Archive


Copyright © 2008 Designed by SimplyWP | Made free by Scrapbooking Software | Bloggerized by Ipiet Notez | Blog Templates created by Web Hosting Men